

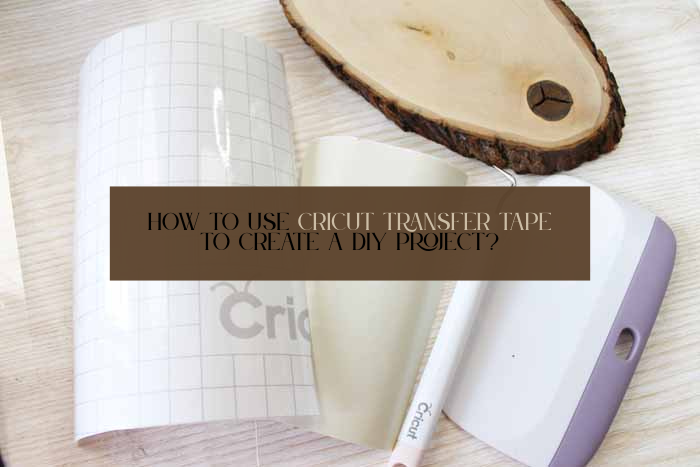
If you wonder about using your Cricut transfer tape, this blog is just for you. Here, I’ll cover the basics of how to use Cricut transfer tape. I’ll cover the main steps in this guide. If you want this method to be easier, keep following my tips and tricks to create a crafting project.

I can teach you its use based on my experience and help you create your first project with your transfer tape and vinyl. Hence, get ready and continue following this post, where you’ll find many informative things.
Introduction to Transfer Tape
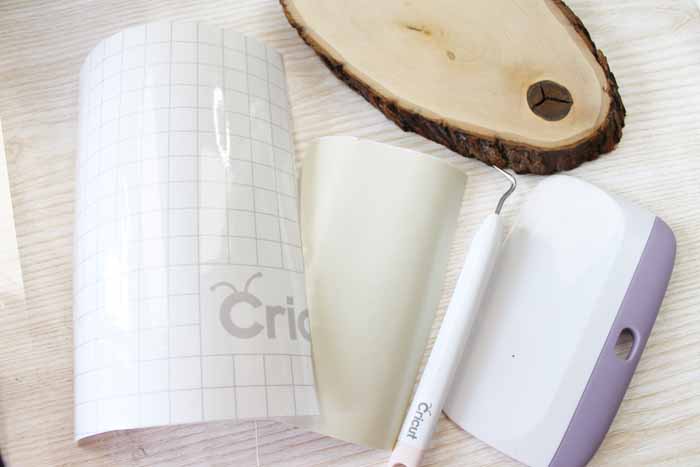
As you know, Cricut machines help you design things using different types of materials. They offer certain accessories and tools to reduce your extra effort in using transfer tape. I want to introduce this new accessory under Cricut and reveal its use.
Its basic use is to transfer the vinyl design onto the blank, for instance a coffee mug or tumbler. With this amazing accessory, you can create multiple projects easily without hassle. If I talk about myself, I have explored this accessory many times to create customized items.
How to Use Cricut Transfer Tape With Vinyl?
Finally, you’ll be learning about using a transfer tape for your upcoming projects. In this section, you’ll get some easy steps to get started with your transfer tape project. Let’s explore together.
Step 1: Design a Project on Design Space Canvas
Your first step should be to design your favorite design on the Cricut Design Space canvas. Utilize all the features and tools under the Cricut Design Space. Now, cut that design through your machine using vinyl as a material. Then, remove the excess vinyl with the weeding tool.
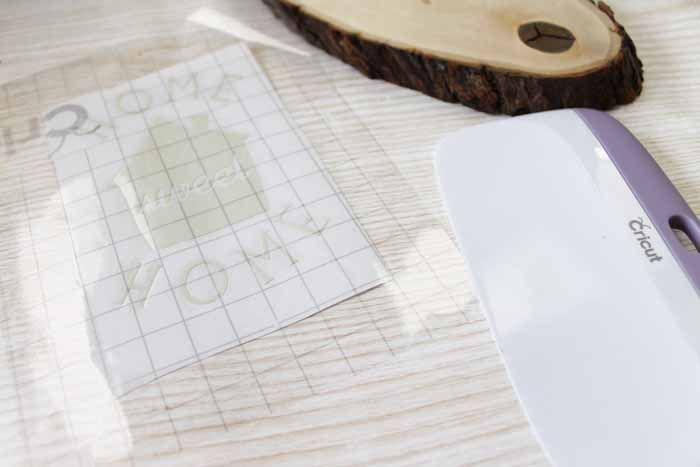
Step 2: Cut a Transfer Tape
Once you’ve cut the design on vinyl, start cutting your transfer tape in a slightly bigger size than your design. A transfer tape is reusable; you should always cut it in a bigger size, even if your design is small. This is how you can sustain your accessories for longer.
Step 3: Take off the Backing Paper from the Transfer Tape
In this step, remove the backing or your transfer tape. After use, you can again stick your transfer tape to the backing paper for reuse. Let’s move ahead and learn how to use Cricut transfer tape.
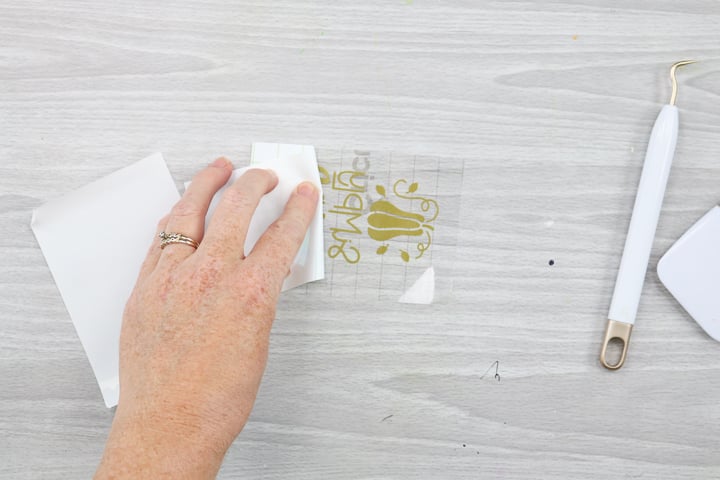
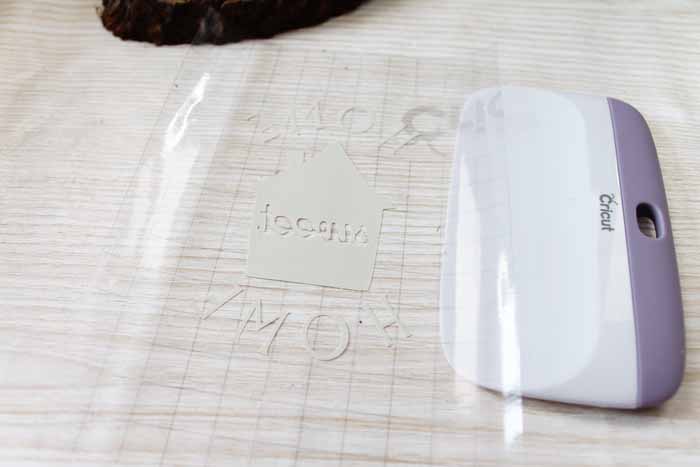
Step 4: Apply Design to Your Transfer Tape
In this step, apply your transfer paper to the design and scrape it well with a scraper. Otherwise, you can use your old cards.
Step 5: Peel off the Backing Paper from Your Design
When you’ve burnished the design on the backing paper, it’s time to peel the backing paper off to get the final design on the tape. Please lift it slowly upside down to avoid ruining the design. Use a weeding tool to do it better.
Step 6: Apply the Design to Your Project
This is the correct time to fix your design on the project and press it gently to let the design stick well to the surface.
Step 7: Remove the Transfer Tape
Once your design is set on the project, you can remove the transfer tape. Before removing it, burn it down on the surface well. Do it again and again until you’re sure that the design stuck well. That’s how to use Cricut transfer tape.
What Else Can I Use Instead of a Transfer Tape?
Yes, there are a few alternatives to using a transfer tape. If you find your transfer tape too sticky or unsuitable for your project type, you can use some other things.
For instance, you can try using painter’s tape. Moreover, contact paper is another good option. Besides, seal saran wrap is also a good option in place of the transfer tape.
Conclusion
So, are you ready to use transfer tape for your projects? I have tried my best to tell you each step, and now it’s your turn to implement everything you’ve learned. This way of DIYing is super easy and cost-effective. As you can save your transfer tape for the next project, you will stay stress-free for the next purchase. As an expert, I will definitely come up with some new tips and tricks to excite all of you who are on this creative journey. Keep exploring new DIY ways till then.
Frequently Asked Questions (FAQs)
Why Choose Cricut Transfer Tape?
Transfer tape is an excellent accessory from Cricut. It helps you apply your cut designs onto the final project’s surface, providing an easy way to transfer the design to the desired blank. Also, it is reusable and sustainable for longer.
Can I Iron the Transfer Tape?
Yes, you can iron-transfer tape. You need a heat press or iron to apply heat to the transfer tape. It works best when you use a heat press to put the design on the blank. However, don’t directly apply the heat to the tape; use a towel instead.
Can I Use Regular Tape Instead of Cricut’s Transfer Tape?
You can use painter’s tape instead of transfer tape. This tape is lightly adhesive, making it ideal for temporary use.
 :
https://www.pinterest.com/newcricut
:
https://www.pinterest.com/newcricut


